
🏡 How to Replace a Broken Water Hose Connector - DIY Tutorial 💦
Jul 25, 2024
In this quick DIY tutorial, learn how to easily replace a broken water hose connector and get back to your gardening and cleaning with no leaks! Follow these simple steps: turning off the water, removing the old connector, and installing the new one, including attaching any accessories like a water gun. Perfect for beginners, this video will guide you through each step with clear instructions. Don’t let a broken hose slow you down, fix it yourself and save time and money!
Here's a clear and simple guide to replace a broken water hose connector:
Turn Off the Water: Before starting, make sure the water supply to the hose is completely turned off to avoid any mess or water wastage.
Remove the Old Connector: Unscrew and pull off the old connector from the hose. It should come off easily if it's not too corroded.
Unpack the New Connector: Open the packaging of your new hose connector so it's ready to be installed.
Prepare the Tightening Ring: Unscrew the tightening ring from the new connector; this is usually located at the end of the connector.
Install the Tightening Ring: Slide the tightening ring onto the hose first. Make sure it’s in the right direction for it to screw back onto the connector later.
Insert the Hose into the Connector: Push the end of the hose as far into the new connector as possible. It might require some force to get it all the way in.
Secure the Hose: Screw the tightening ring back into the connector until it’s tight. This action secures the hose within the connector, even if it might not feel like it’s tightening.
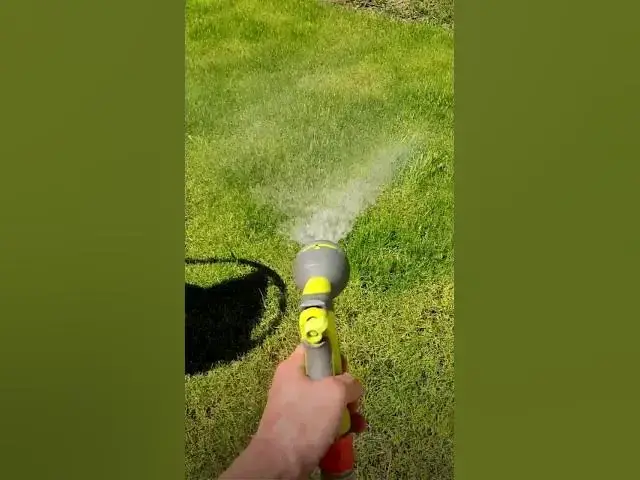
Attach Accessories: Attach any accessories like a water gun or sprinkler to the connector.
Show More Show Less